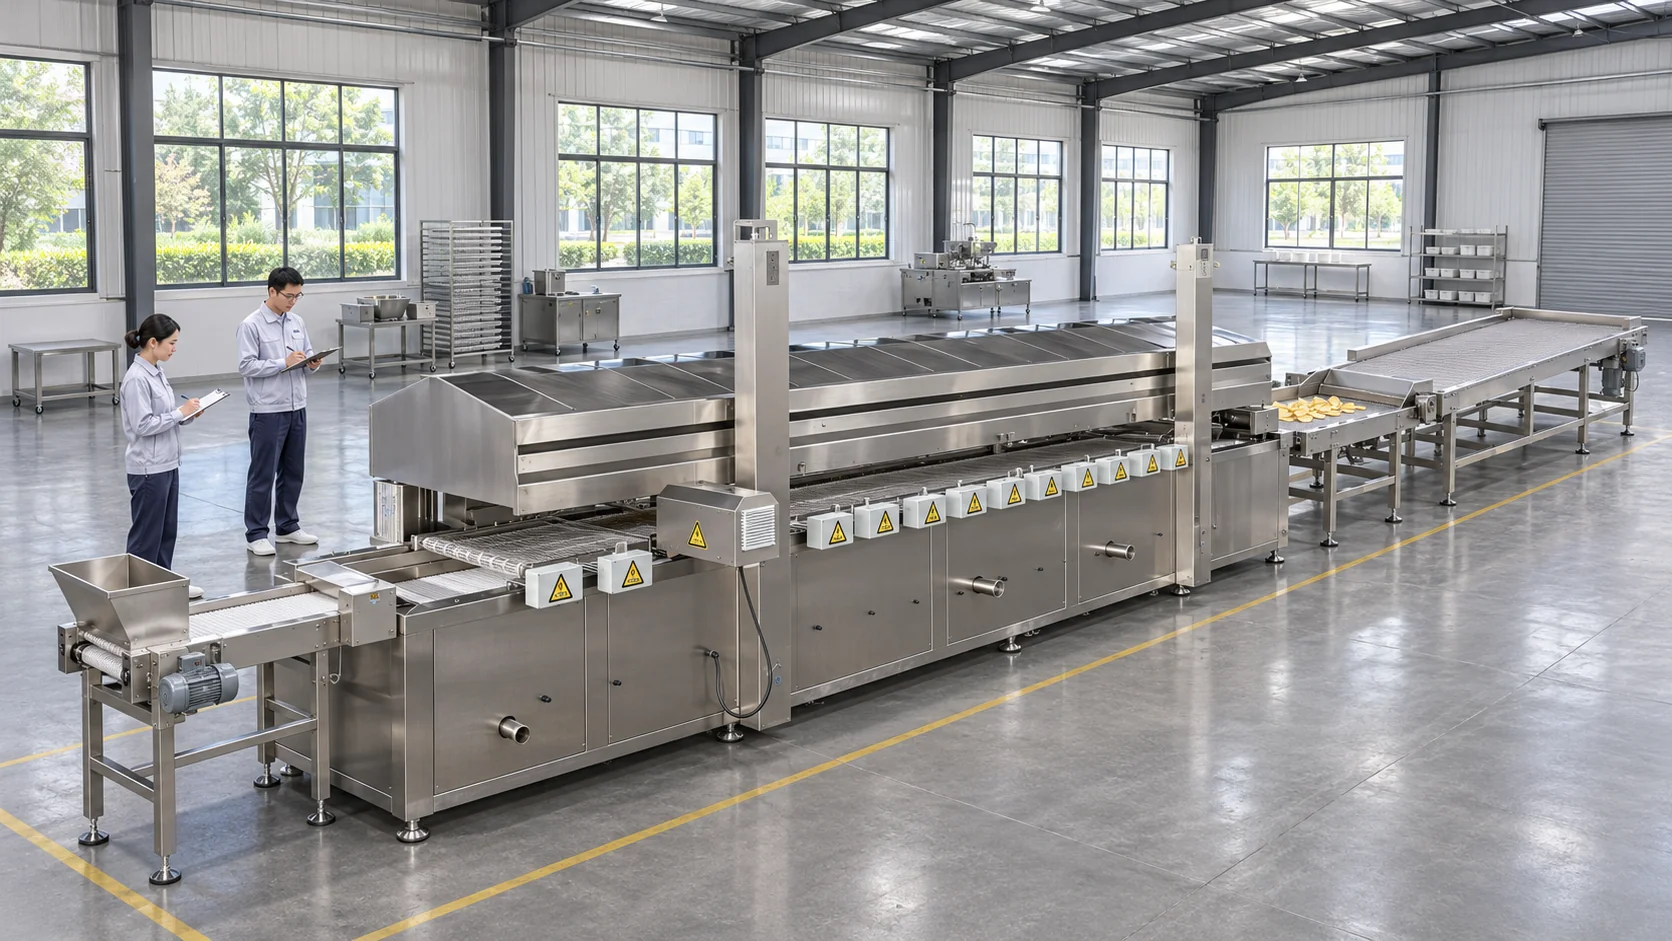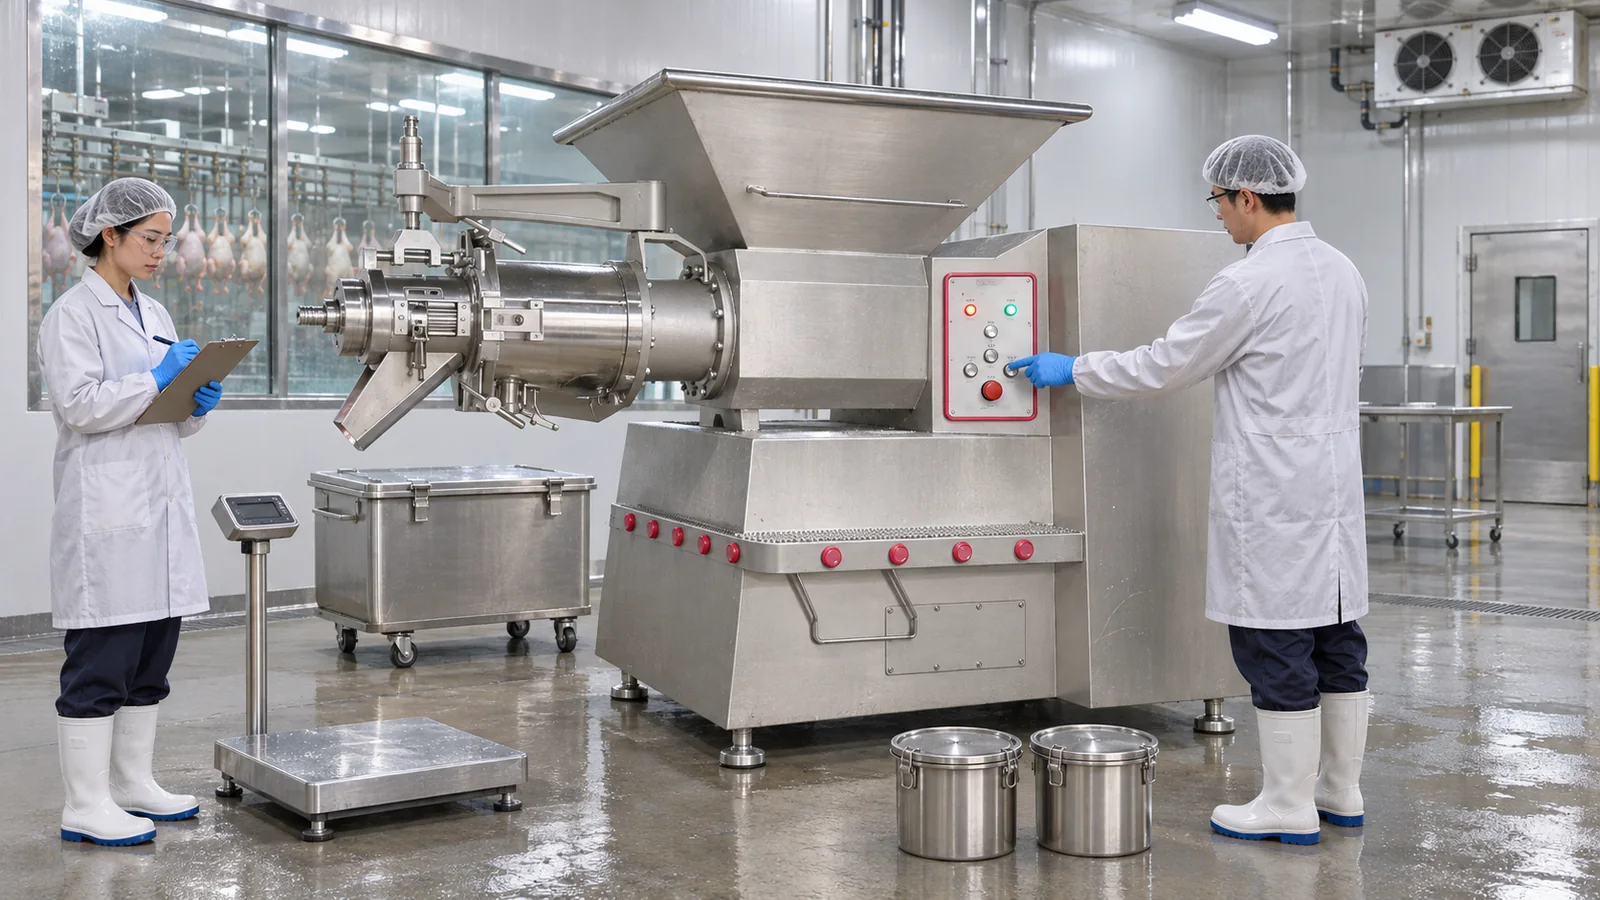
Meat separators should not arrive at a factory before the floor, delivery route, working space, electrical supply, drainage and line interfaces have been checked against the approved machine documents. A machine may fit on a floor plan yet still be difficult to move into position, clean safely or dismantle for service. Those problems are usually created before commissioning, not during normal production.
This guide helps poultry, meat and pet-food processors prepare an installation area for an industrial separator. It explains which dimensions and utilities to verify, how to protect hygienic access and how to organize commissioning without inventing requirements that may not apply to the selected model.
Start With the Approved Meat Separator Documents
Marketing brochures are useful for comparing general machine families, but installation decisions require project-specific information. Ask the supplier for the final general-arrangement drawing, shipping dimensions, machine weight, connection list, electrical diagram, maintenance-access requirements and instructions for lifting, leveling and anchoring. Confirm the revision number before construction or utility work begins.
Separate Machine Footprint From Working Envelope
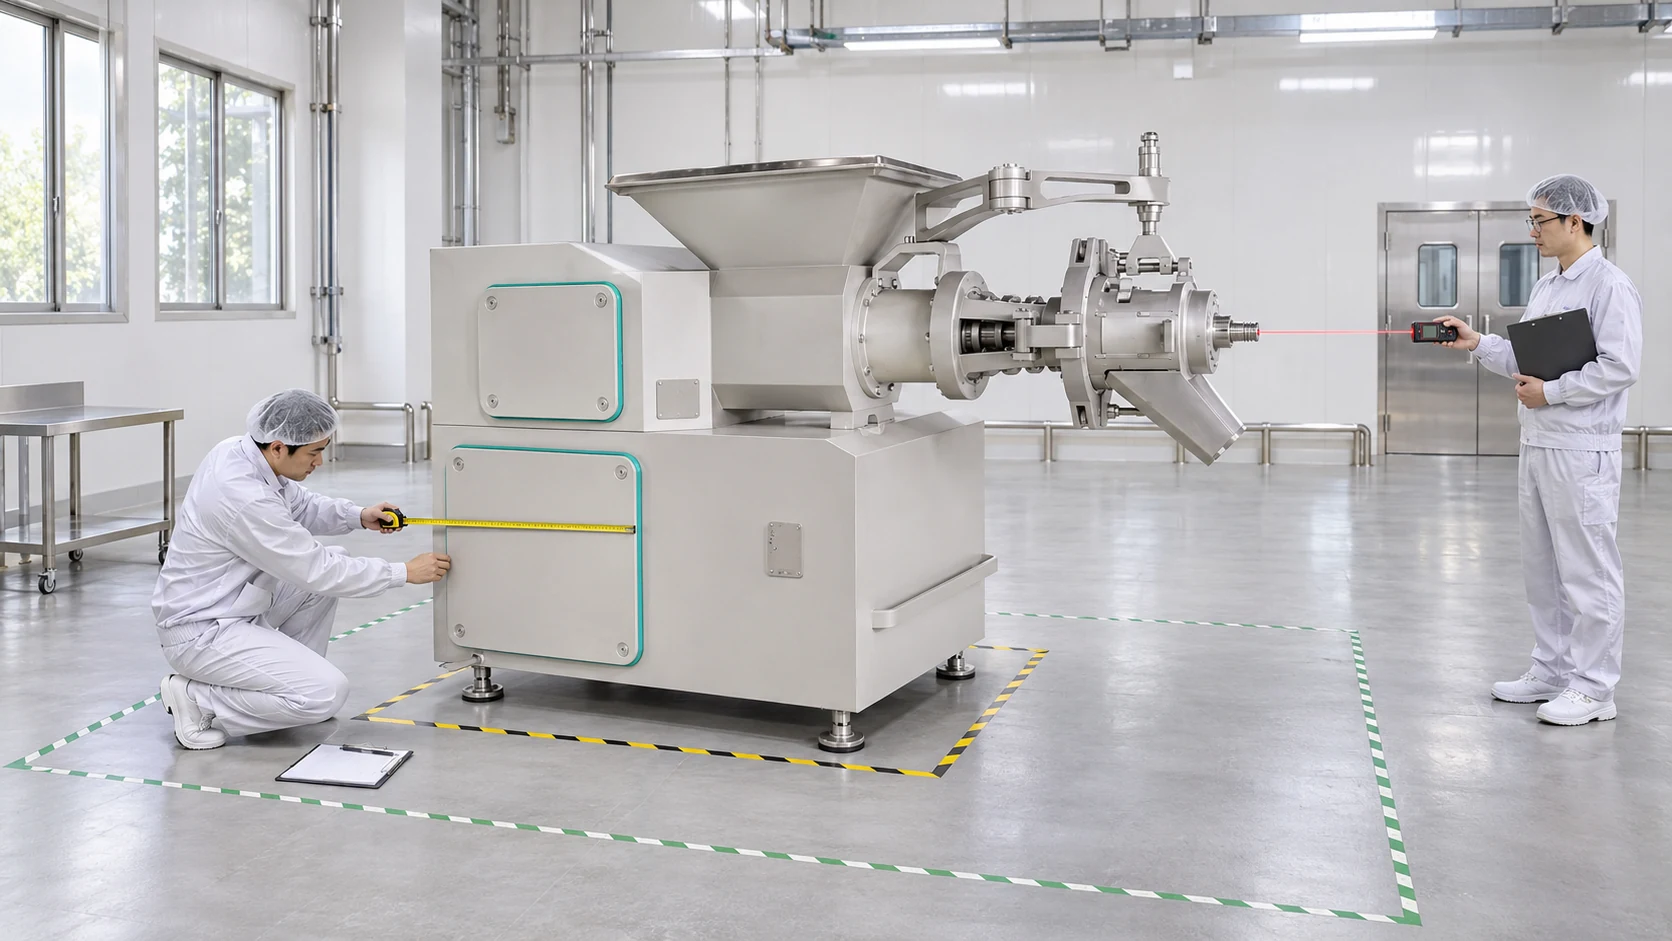
The machine footprint is the space occupied by its feet or frame. The working envelope also includes the hopper loading zone, operator position, discharge vessels, guards, access doors and any movement required to open or remove the separation head. A third space may be needed for a parts trolley, wash equipment or a lifting device. Planning only from length and width can leave the machine technically installed but operationally blocked.
Do Not Reuse Specifications From Another Model
Power, weight, dimensions, voltage and optional equipment can change by model and order configuration. Even machines that look similar may use different drives, controls or discharge arrangements. Use only the data on the approved quotation, nameplate schedule and installation drawing for the purchased unit. A competitor’s brochure or a photograph is not an installation specification.
Confirm the Delivery and Rigging Route
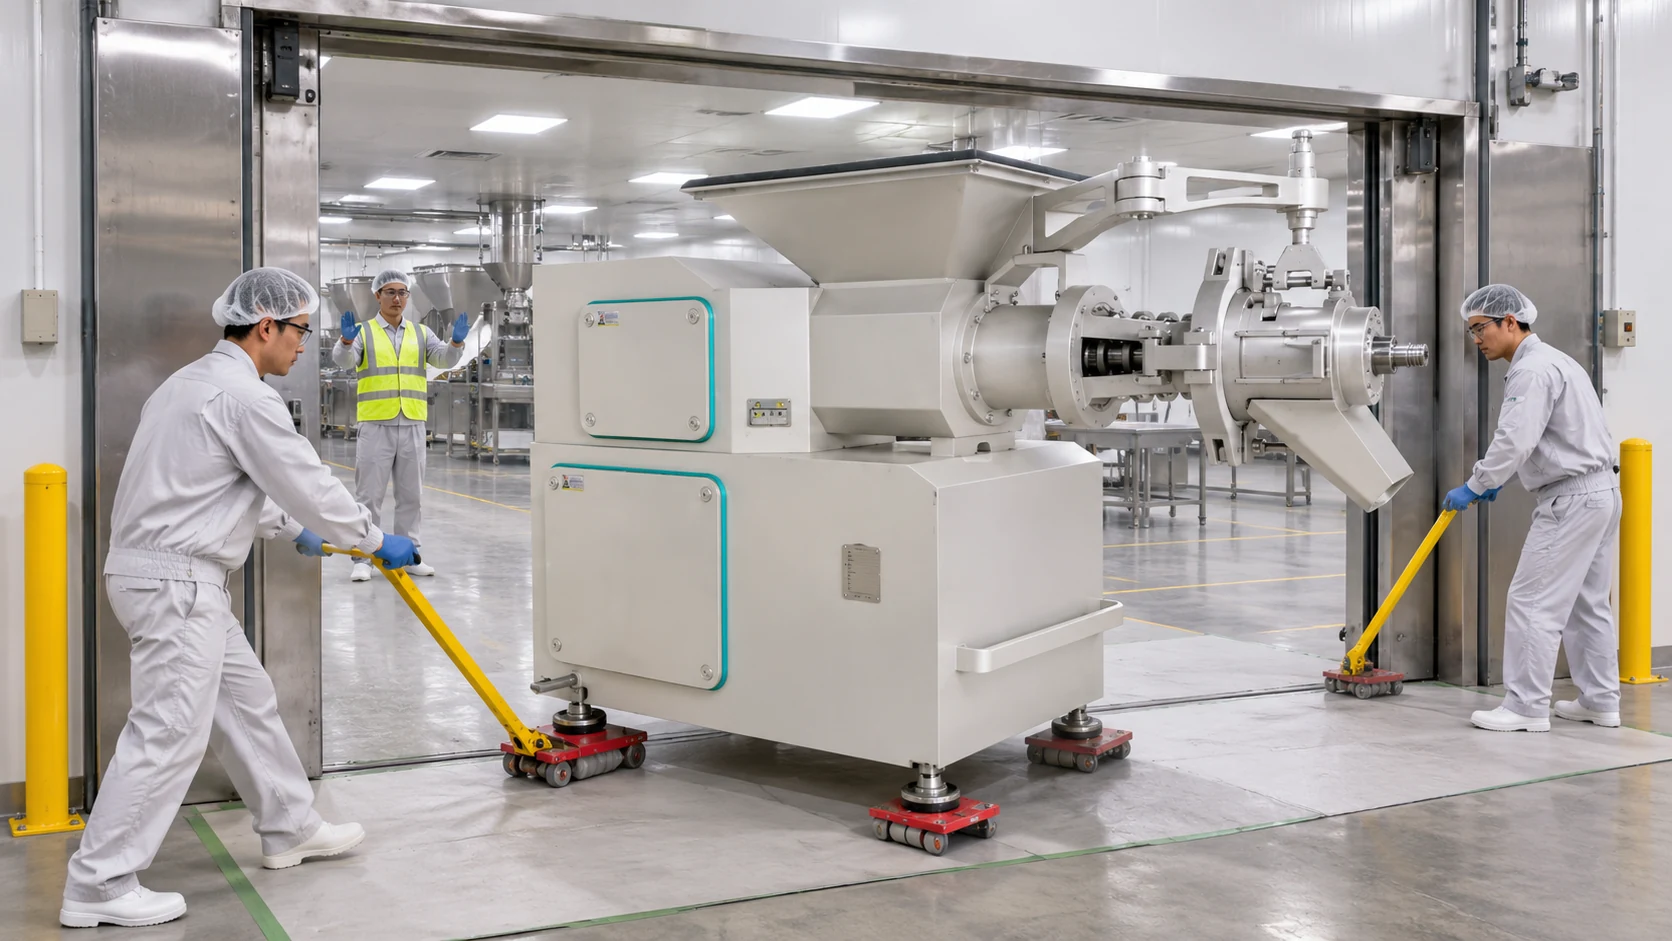
Work backward from the final machine position to the unloading point. Measure doors, corridors, turns, ceiling clearances, floor transitions and any area where the machine must rotate. Compare these with the shipping envelope, not only the assembled operating dimensions. If the machine will be unpacked before entry, the supplier should confirm which parts may be removed and how they must be protected.
Check Floors Along the Entire Route
The installation floor is not the only load-bearing surface that matters. The unloading zone, ramps, corridors and temporary staging area must also suit the equipment and approved handling method. Verify floor load and condition with the responsible building engineer. Do not assume a pallet jack, forklift or machinery skate is acceptable simply because it can carry the stated weight.
Protect Hygienic Surfaces and Machine Geometry
Plan where packaging will be removed and how exposed food-zone components will stay protected. Lifting points and tie-down methods must come from the manufacturer. Do not place slings around the hopper, separation head, guards, control box or piping unless the approved lifting instruction specifically permits it. Record any shipping damage before positioning.
Prepare the Installation Bay
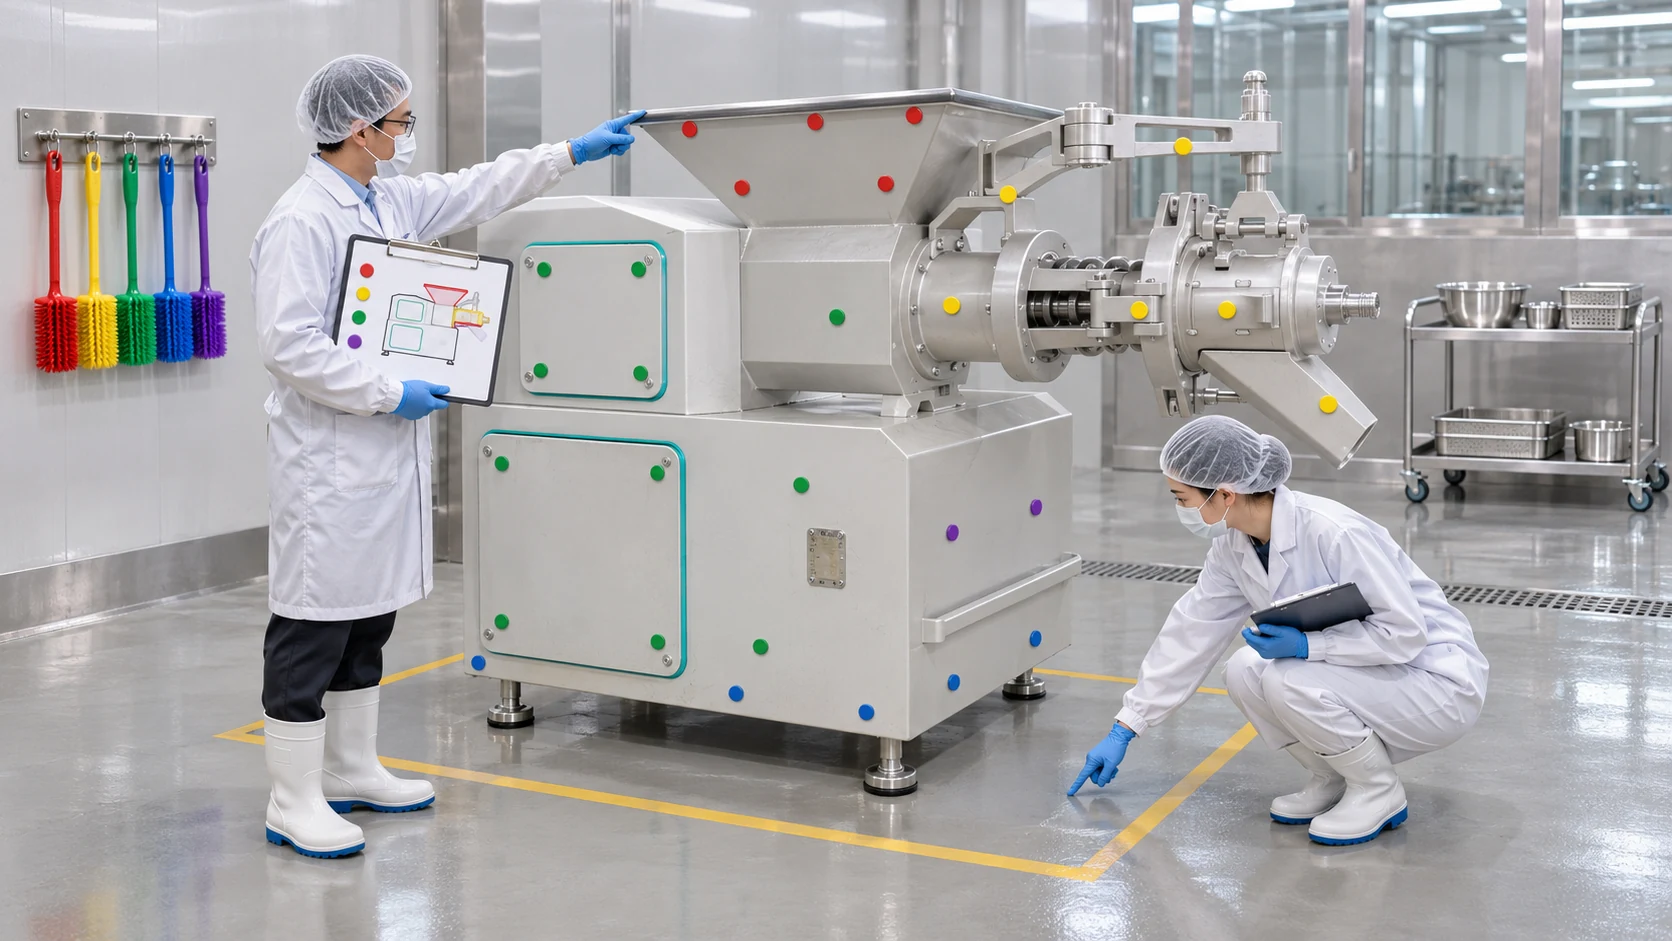
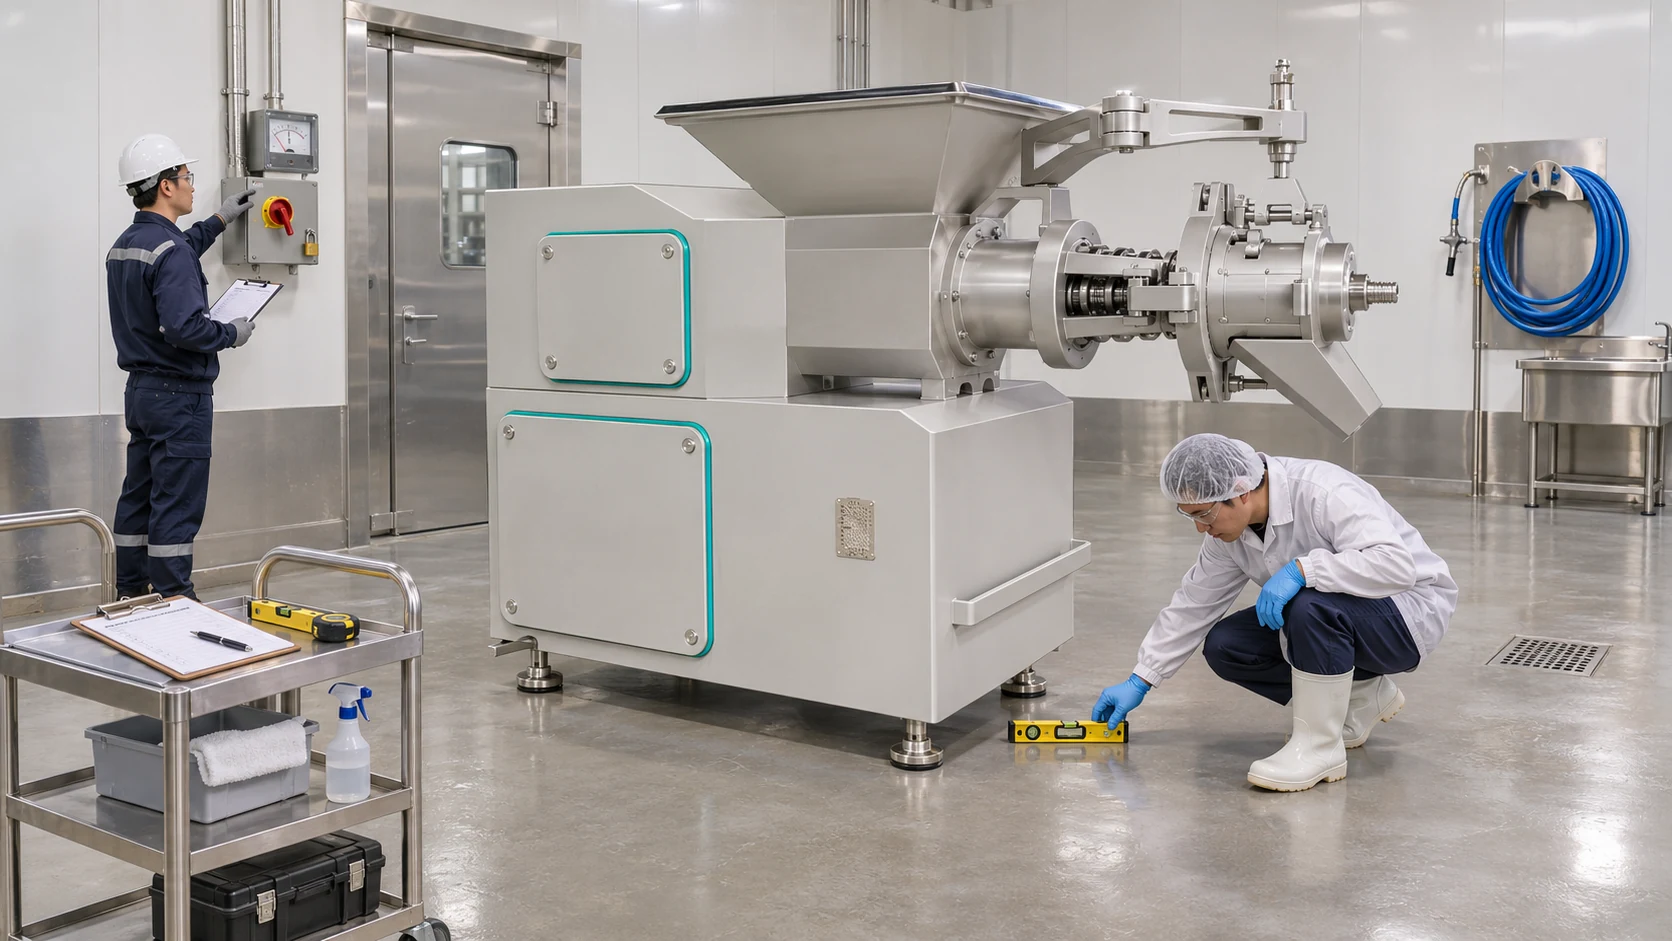
The final position should support safe operation, cleaning, inspection and future removal. Mark the machine outline and service envelope on the floor before delivery. Walk through loading, output collection, head opening, parts movement and sanitation with production, maintenance and hygiene teams. A simple full-scale floor marking often reveals conflicts that are easy to miss on a small drawing.
Verify Floor Level, Condition and Load Capacity
The floor must be stable, level within the machine supplier’s permitted tolerance and capable of carrying the operating load. The approved documents should state whether adjustable feet, pads, anchors or a special base are required. Floor coating repairs should be completed and cured before the machine arrives. Anchoring locations must be coordinated with reinforcement, embedded services and hygienic sealing requirements.
Keep Drainage Accessible
Wet cleaning needs a drainage strategy, but placing an inaccessible drain directly under the machine can create sanitation and maintenance problems. Plan floor slope and drain position so wash water moves away without crossing clean product routes or pooling around the feet. The final arrangement must comply with the plant’s hygiene plan and local building rules.
Preserve Cleaning and Service Clearance
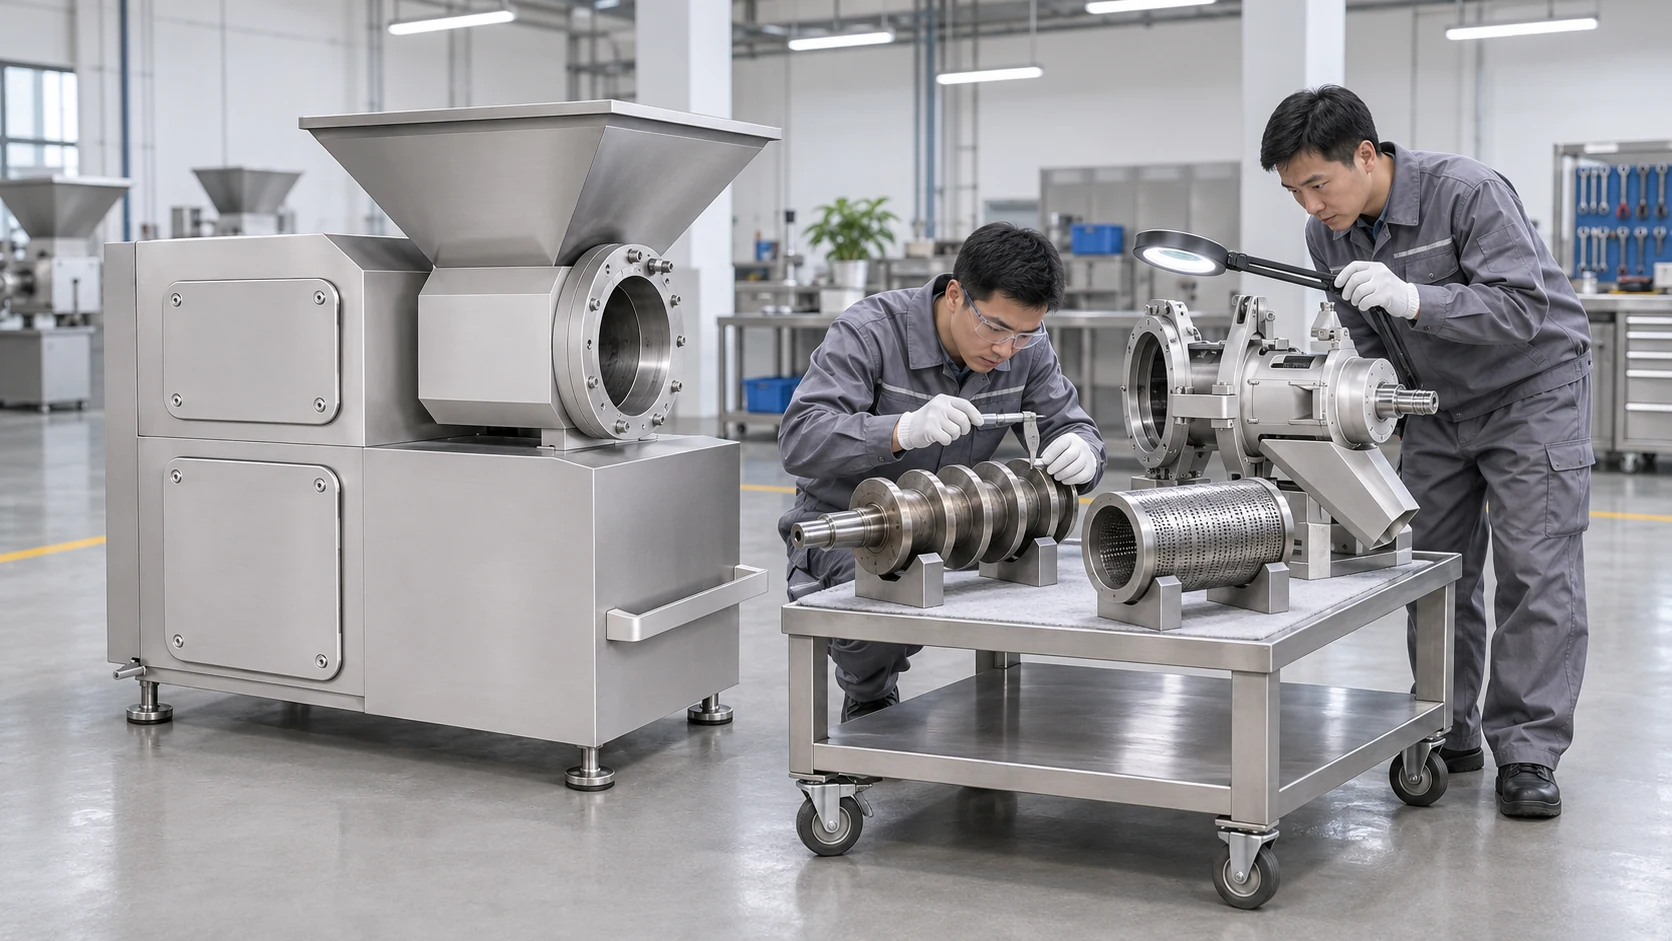
Cleaning access is part of installed performance. Leave enough room to open covers, remove approved change parts, handle the screw and screen safely, and inspect the frame and floor. The required direction and distance depend on the machine. Use the supplier drawing and a parts-handling trial rather than a generic clearance number.
For component-level checks after installation, see the separator parts and maintenance inspection guide. It explains why the separation head, screw, screen and adjustment parts should be treated as a matched system.
Verify Electrical Supply and Safe Isolation
Confirm destination voltage, frequency, phase, installed power, full-load current, starting method, protection requirements and control voltage from the final electrical documents. The plant electrician should size cables, protective devices and isolation equipment according to the machine and local rules. A general statement such as “380 V” is not enough for connection planning.
Place Isolation Where It Can Be Used and Verified
Operators and maintenance staff need a clear, approved method to isolate hazardous energy. The disconnect location, lockout procedure and visibility requirements should be agreed before cable routing is fixed. Emergency stops, guards and interlocks must be tested as part of commissioning; their presence in a brochure does not prove the installed system is complete.
Route Cables Away From Cleaning and Traffic Hazards
Use hygienic, protected routing that does not create a trip point, trap soil or obstruct service access. Cable entries and control enclosures must retain their intended protection after installation. If conveyors, pumps or upstream equipment are interlocked with the separator, request an interface description that identifies every signal and responsibility.
Confirm Optional Utilities Instead of Assuming Them
Many meat separators use an electric drive, but a complete line may also need process water, cleaning water, hot water, compressed air or transfer piping. Requirements depend on the exact separator, feed system, discharge method and cleaning procedure. Ask for a utility schedule that lists connection type, quality, pressure or flow range where applicable, and the supplier/customer boundary.
Keep Utility Points Reachable
Wall services, hose stations and drains should remain accessible without forcing hoses or cables across product routes. Avoid installing permanent services where they prevent a cover from opening or a component from being withdrawn. Where a utility is not required by the final configuration, do not add an improvised connection to the machine.
Define Who Supplies Each Connection
The purchase contract should state who unloads, positions, anchors, connects, inspects and starts the equipment. It should also identify who supplies cables, protective devices, pipes, hoses, adapters, lubricants, lifting equipment and commissioning material. Clear responsibility prevents a machine from arriving while essential site work is still unassigned.
Plan the Upstream and Downstream Interfaces
A separator is rarely an isolated machine. The installation plan must show how approved raw material reaches the hopper and how recovered material and bone-rich residue leave the process. Confirm heights, directions, vessel sizes, transfer rates, covers and cleaning access at every interface.
Match Feeding Method to the Real Raw Material
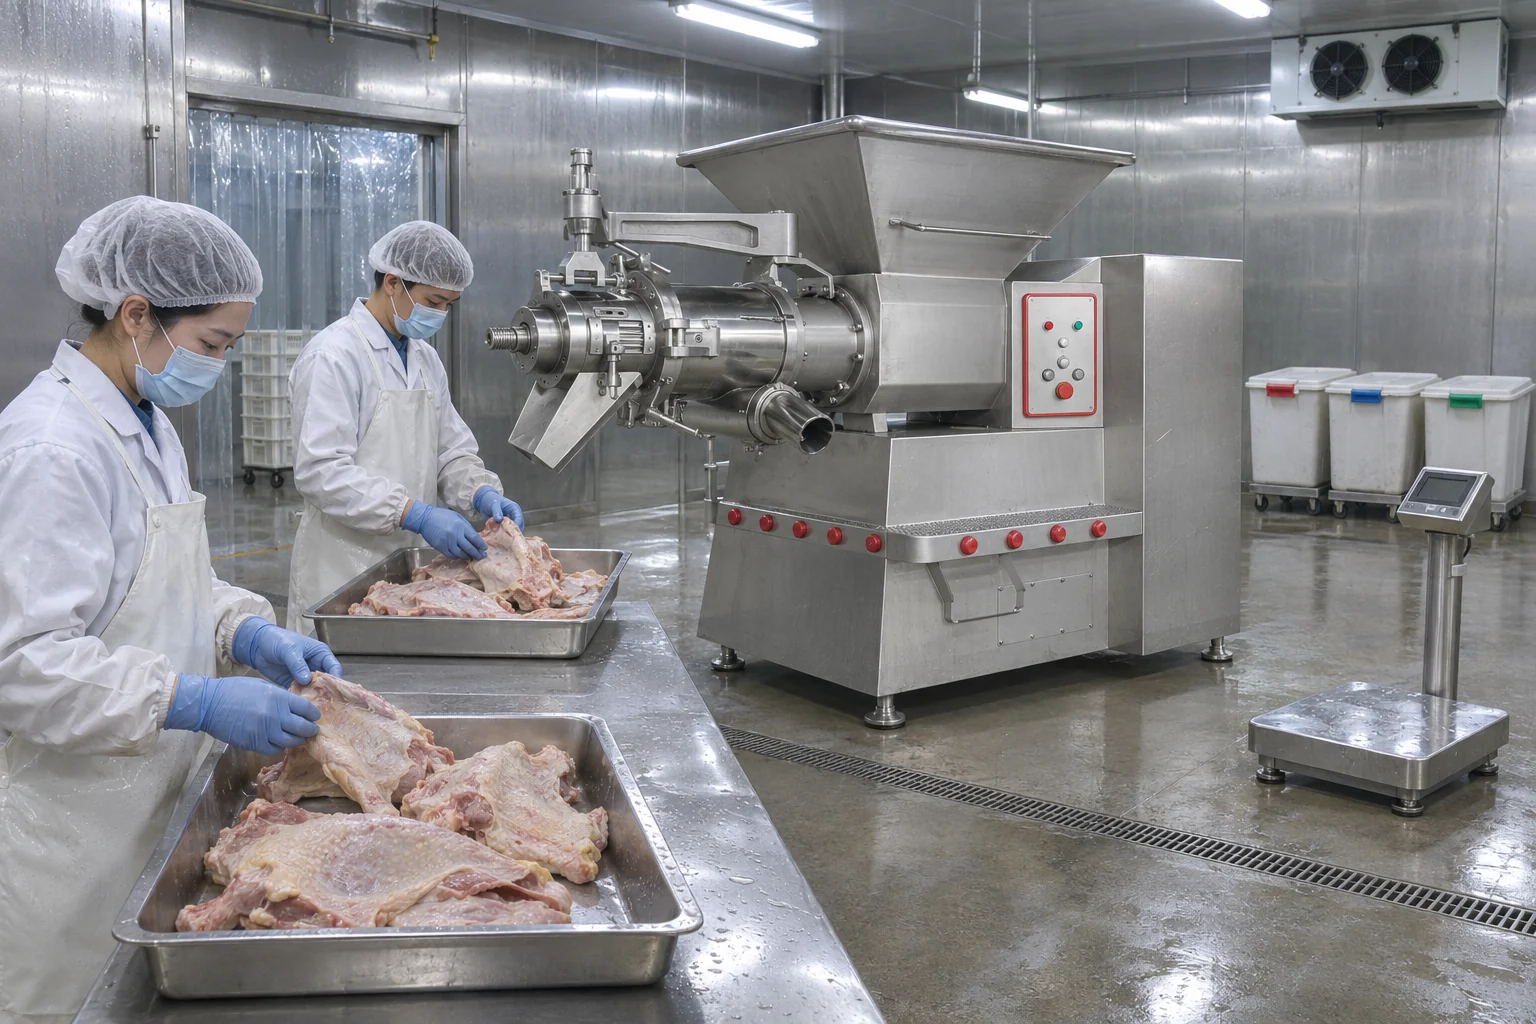
Manual loading, tote lifting, conveyors and pre-sizing equipment create different space and safety requirements. The supplier should review actual species, anatomical parts, piece-size range, incoming condition and normal batch pattern. For poultry projects, the poultry frame preparation guide explains how inconsistent feed can distort a trial.
Provide Two Controlled Output Routes
Recovered soft material and bone-rich residue need separate, identifiable routes. Vessels or conveyors should fit below the real outlets without blocking guards or service access. Account for vessel changeover and cleaning. If recovered material will be pumped or transferred through a pipe, the connection and cleaning method must be included in the approved layout.
Check Line Capacity at the Interfaces
Nominal separator output does not guarantee balanced line performance. Confirm normal and peak feed, vessel-change frequency, downstream receiving capacity and planned operating hours. The meat bone separator capacity sizing guide provides a separate method for translating daily material flow into a realistic operating window.
Use a Controlled Commissioning Sequence
Commissioning should establish that the machine is installed correctly and can process the buyer’s representative material under agreed conditions. It is not simply the first time the motor runs. Prepare documents, people, test material, collection vessels, measurement tools and acceptance records before the supplier’s technician arrives.
Complete a Document and Assembly Check
Verify the machine identity, drawing revision, component list, guards, fasteners, lubrication status, utility connections and cleanliness. Confirm that transport restraints were removed according to instructions and that the separation head is assembled with the approved components. Record issues before energizing.
Run Approved Safety and No-Load Checks
The commissioning team should follow the manufacturer’s sequence for rotation, controls, alarms, guards, interlocks and emergency stops. Any unusual noise, vibration, leakage or control fault should be investigated before material is introduced. No-load checks do not prove product performance, but they reduce avoidable risk during the first trial.
Test With Representative Material and Both Outputs
Use a defined batch that represents normal production, not an unknown demonstration sample. Record input condition, stable run time, interruptions, machine configuration, recovered material and bone-rich residue. Agree which quality and composition checks apply to the intended end use. For background on ingredient terminology, review what MDM meat means in poultry processing.
Build an Installation-Ready RFQ
A useful request for quotation should include a factory layout, photographs of the proposed route and bay, destination electrical standard, floor and drainage information, proposed feed method, output handling and planned cleaning method. Also send raw-material photographs, size range, condition, normal and peak mass, operating hours and intended product use.
Ask each meat separator manufacturer to return a certified arrangement drawing, shipping data, weight, utility list, interface description, service envelope, installation scope, commissioning plan, training scope, spare-parts recommendation and document list. This makes supplier proposals easier to compare and exposes missing work before the order is placed. The broader poultry meat bone separator selection guide covers additional process and purchasing questions.
A Practical Readiness Decision
The site is ready only when the selected machine can be delivered, positioned, connected, isolated, loaded, cleaned, serviced and removed without conflicts. Approved drawings and responsibilities must match the real factory. If the route, service envelope, utility boundary or commissioning criteria remain unclear, postpone irreversible site work and resolve those points with the supplier.
For a project-specific review, send the factory layout, raw-material description and required capacity through the equipment inquiry page. A useful proposal should connect machine selection with the installation conditions the buyer will actually provide.
Frequently Asked Questions
What documents are needed before installing meat separators?
Request the final general-arrangement drawing, shipping dimensions, machine weight, connection and utility list, electrical diagram, service-clearance requirements, lifting instructions and installation scope for the exact ordered configuration. Confirm the revision before site work begins.
How much clearance should be left around a meat separator?
Use the supplier’s approved working and service envelope rather than a generic distance. Clearance must support loading, guard movement, separation-head opening, component removal, cleaning, inspection and safe operator access.
Do meat separators require water or compressed air?
Requirements vary by model, feed system, discharge arrangement and cleaning method. Ask for a project-specific utility schedule and do not add water, air or piping connections unless the final configuration requires them.
Where should the floor drain be placed near a meat separator?
Place drainage where wash water can flow without pooling or crossing clean product routes, while keeping the drain accessible for cleaning. The final slope and drain position must follow the plant hygiene plan, supplier layout and local building rules.
What should be checked during meat separator commissioning?
Verify documents, machine identity, assembly, guards, lubrication, utilities and cleanliness before energizing. Then complete the approved safety and no-load checks, followed by a controlled trial with representative material and separate measurement of both output streams.
What should a buyer send for an installation-ready quotation?
Send a factory layout, route and bay photographs, destination electrical standard, floor and drainage information, feed and output methods, cleaning plan, raw-material description, normal and peak flow, operating hours and intended product use.