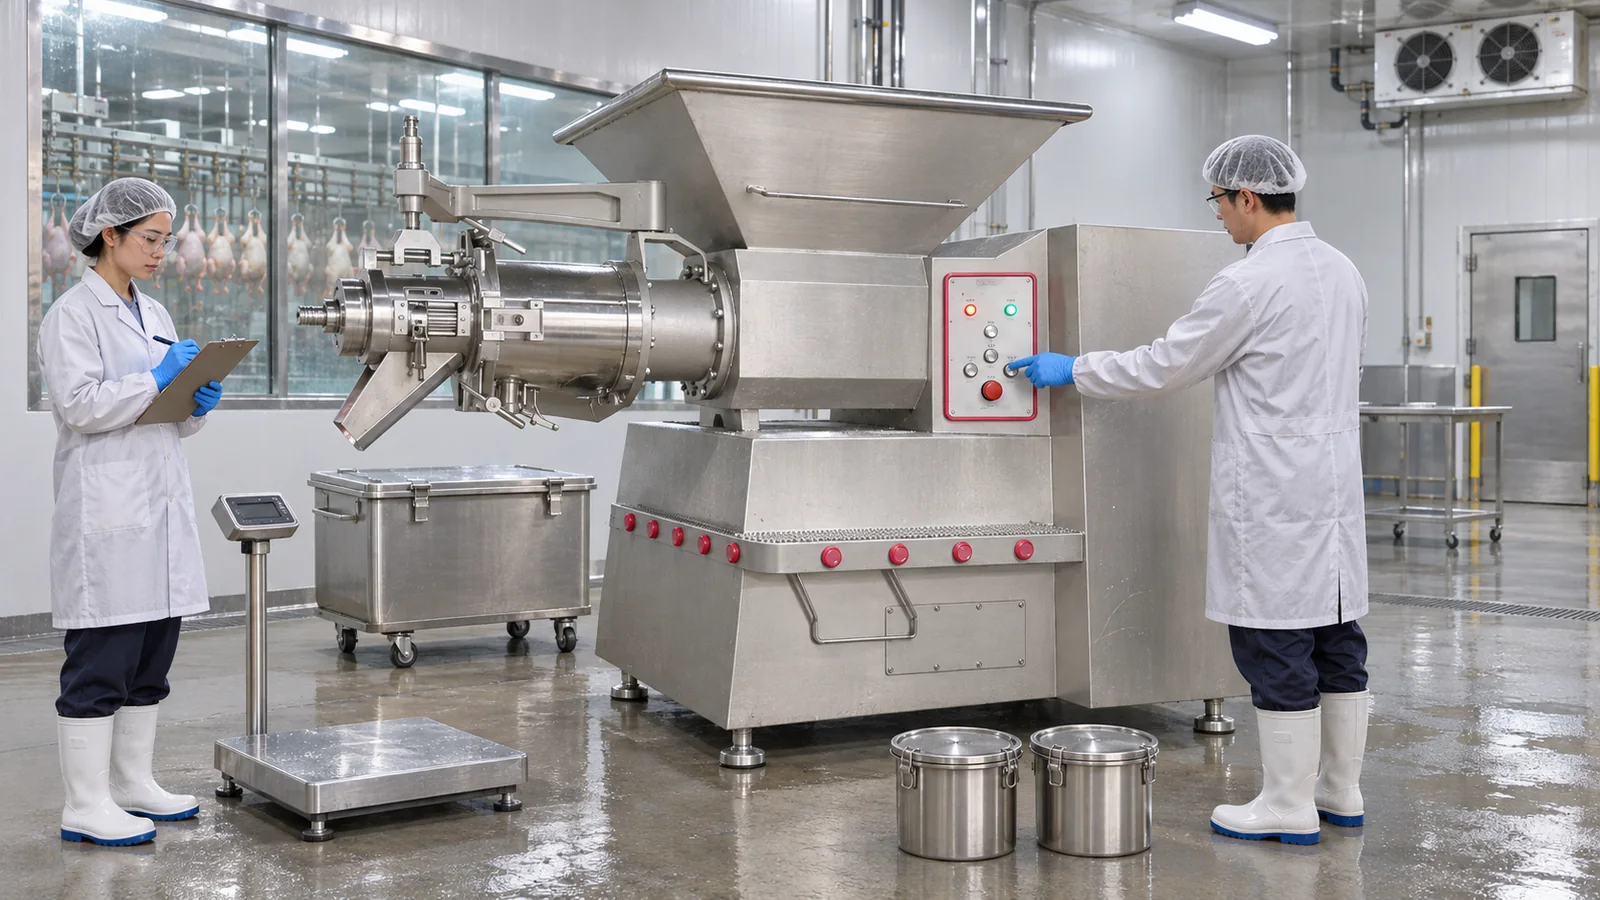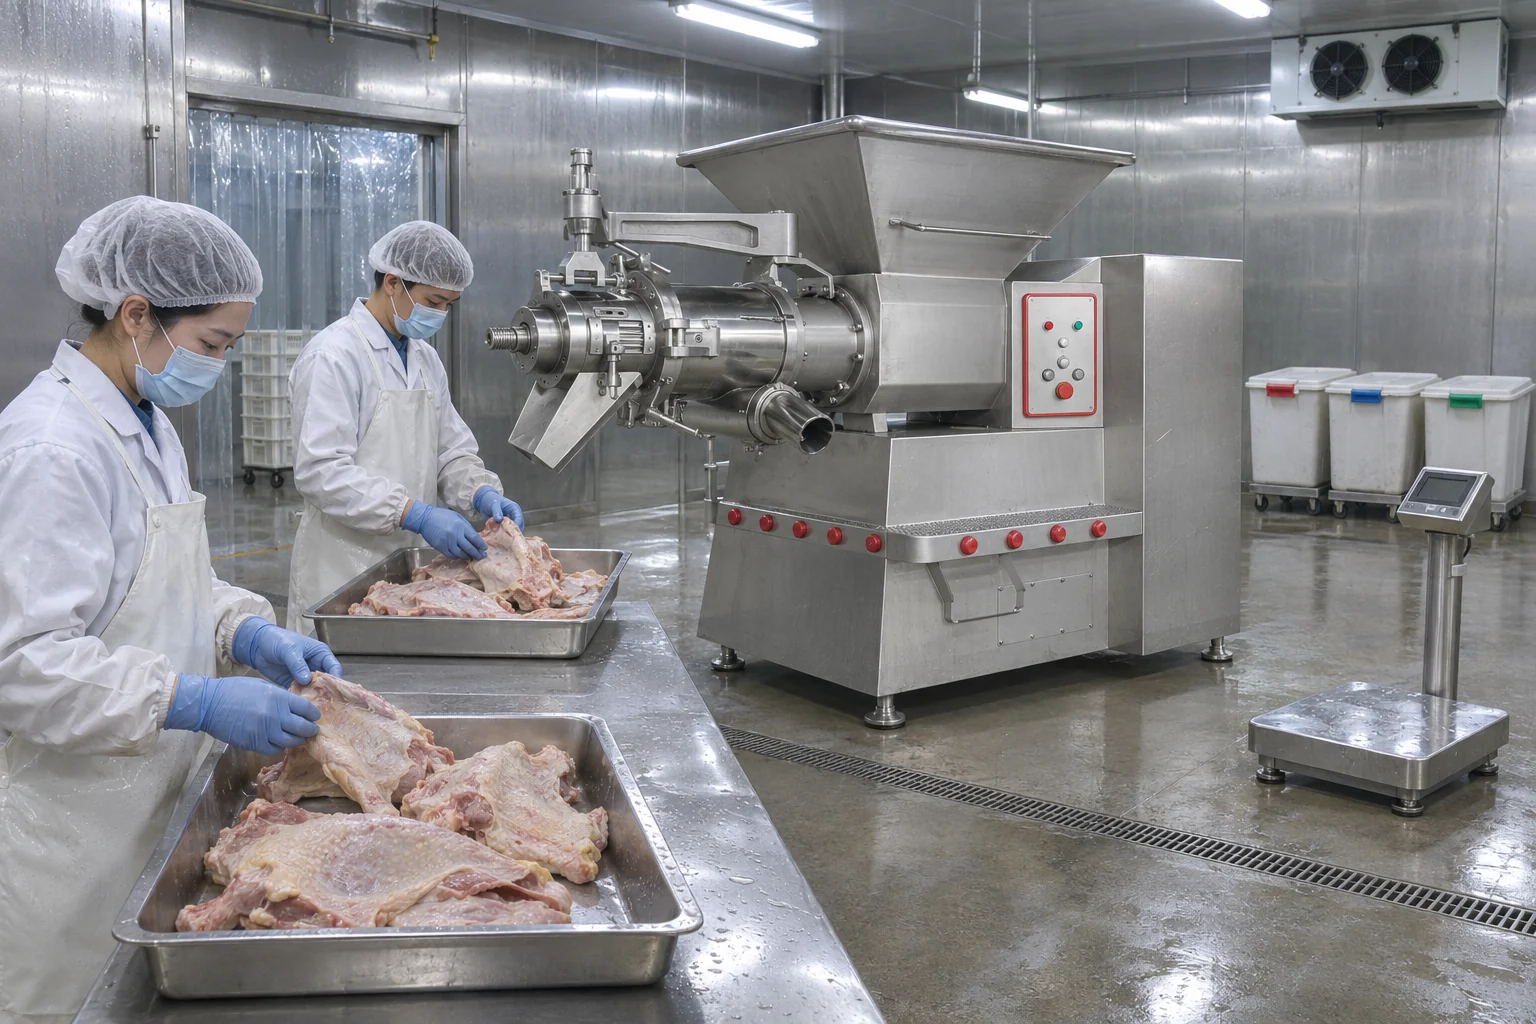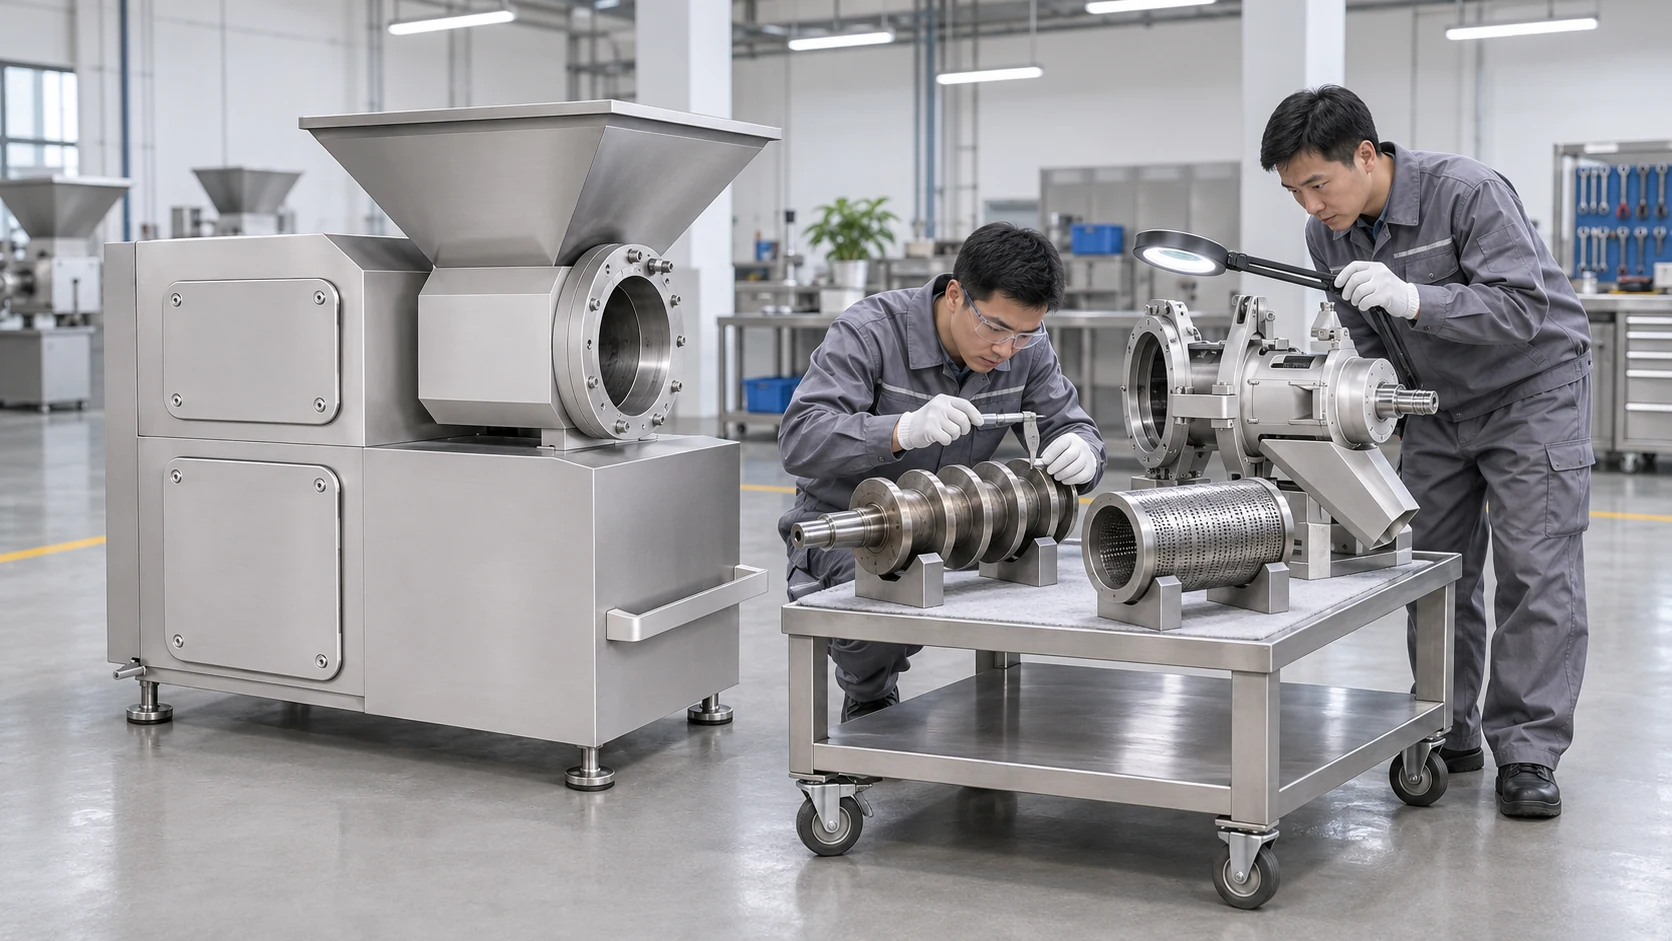
Meat separators need a documented sanitation program that proves the equipment is clean, correctly reassembled and ready for production. A stainless exterior and a quick rinse are not enough. Product can remain around the hopper, screw, screen, separation head, discharge chute, seals, guards and adjacent splash areas unless the cleaning scope is based on the real machine and verified after every required cleaning cycle.
This guide explains how meat processors can build a practical cleaning and pre-operational release workflow for a screw-type industrial separator. It focuses on decisions that buyers, sanitation teams, production supervisors and maintenance staff can verify without inventing universal chemical concentrations, water temperatures or microbiological limits.
Cleaning, Sanitizing and Verification Are Different Tasks
Cleaning removes product soil and other residues. Sanitizing or disinfection, where required by the plant program, is a separate controlled step applied after effective cleaning. Verification provides evidence that the approved procedure was followed and achieved the defined condition. A chemical cannot compensate for product residue that was never removed.
Validation Establishes the Procedure
Validation demonstrates that a selected cleaning method can consistently meet the site’s defined hygiene objective when applied to the machine, product and operating conditions in scope. It is normally completed before routine use and reviewed after significant changes, such as a new machine configuration, new product family, altered cleaning chemistry or recurring failure.
Monitoring Shows the Steps Were Performed
Routine monitoring records whether operators followed the approved sequence. It can include start and finish time, responsible person, disassembled parts, chemical identification, concentration check, contact time and completion of rinse or drying steps. The exact controls must come from the factory’s food-safety plan and chemical supplier instructions.
Verification Supports the Release Decision
Verification asks whether the machine is acceptable for production after cleaning. Visual inspection is fundamental, but a site may also use validated rapid hygiene indicators, microbiological sampling, species-residue tests or allergen tests where the risk assessment requires them. Each method needs defined sampling points, frequency, limits and corrective actions.
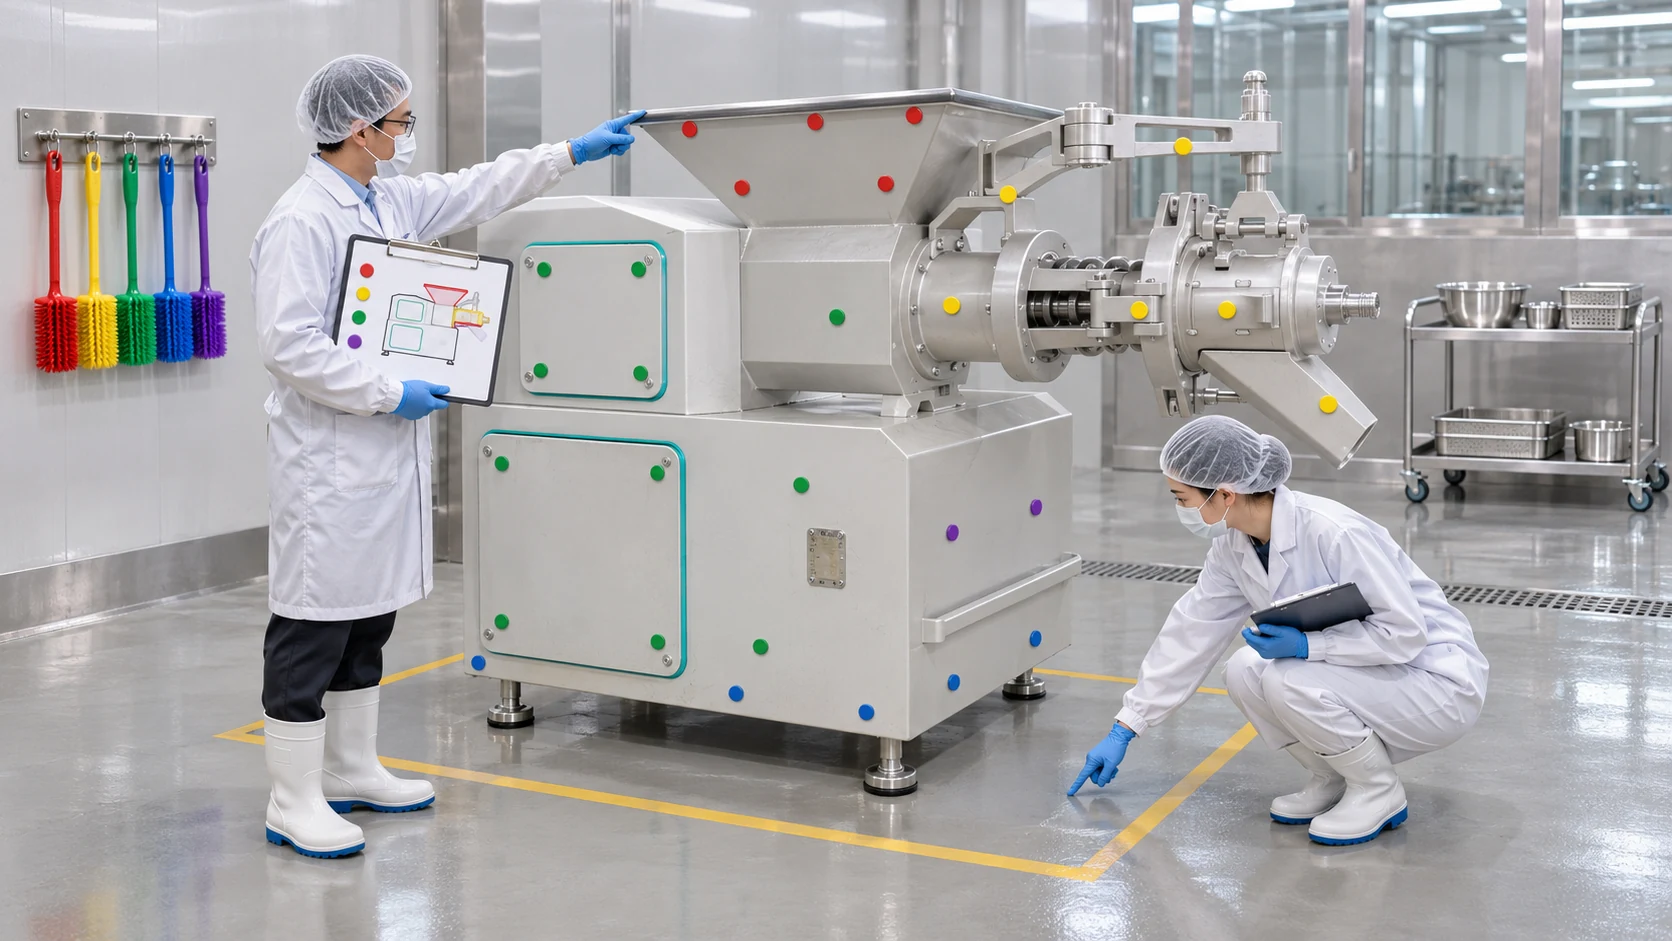
Map the Cleaning Zones of Meat Separators
A useful sanitation plan starts with a physical map of the machine. Separate direct product-contact surfaces from splash areas and non-food areas. Include surfaces from which liquid, condensate or loose material could return to product. The map should reflect the exact machine configuration, not a generic drawing of another separator.
Start With the Product Path
Trace material from the loading point through the hopper, feed section, screw, screen or filter area, adjustment and separation-head components, recovered-material route and residue chute. Any removable pipe, vessel or transfer interface connected to the separator must be included in the same review. This reveals hidden transitions that an exterior inspection can miss.
Include Splash and Handling Areas
Guards, frames, access doors, control supports, nearby walls, floor areas and parts-handling equipment may not be direct contact surfaces, but they can hold soil or transfer contamination through hands, tools, hoses and components. Define their cleaning frequency and method separately so operators do not use a food-contact brush on the floor or control enclosure.
Build the SSOP From the Actual Machine Manual
The sanitation standard operating procedure should combine the manufacturer instructions with the factory’s chemical, safety, water and hygiene rules. It must identify who may isolate the machine, which parts may be removed, the correct sequence, permitted tools, protected components and conditions required before production release.
Never Guess the Disassembly Boundary
Only remove components identified in the approved manual or supplier training. Do not open the drive, electrical enclosure or sealed assemblies for routine sanitation unless the procedure specifically requires it. If access to a suspected product trap is unclear, stop and obtain a supplier instruction rather than improvising.
The separator parts and maintenance inspection guide explains the functional relationship between the screw, screen, separation head and adjustment components. Sanitation staff should know these parts, but cleaning work must remain separate from grinding, polishing or unapproved repair.
Define Energy Isolation Before Wet Work
A stop button is not a substitute for the site’s approved hazardous-energy isolation procedure. The SSOP should state how the machine is shut down, emptied, isolated, locked and verified before guards or head components are opened. It should also define which electrical and control surfaces must stay dry or receive only the manufacturer-approved cleaning method.
Remove Product Before Applying Water
Dry removal of gross soil can reduce the amount of organic material spread around the machine and into drains. Use approved scrapers, collection vessels and waste routes. Do not force residue deeper into perforations or seals, and do not use compressed air to distribute contamination unless a validated procedure specifically permits it.
Separate Product Recovery From Waste Removal
Once the sanitation cycle begins, removed residue should follow the plant’s waste or nonconforming-material procedure. It should not be returned to production. Label and remove collection vessels promptly so cleaning water and chemicals cannot be mistaken for process material.
Protect Tools and Parts During Transfer
Use a dedicated sanitation cart or rack that supports parts without contact with the floor. Separate dirty and cleaned zones on the rack. Heavy screws, screens and head parts should be handled with approved lifting or support methods to prevent injury and damage to functional surfaces.
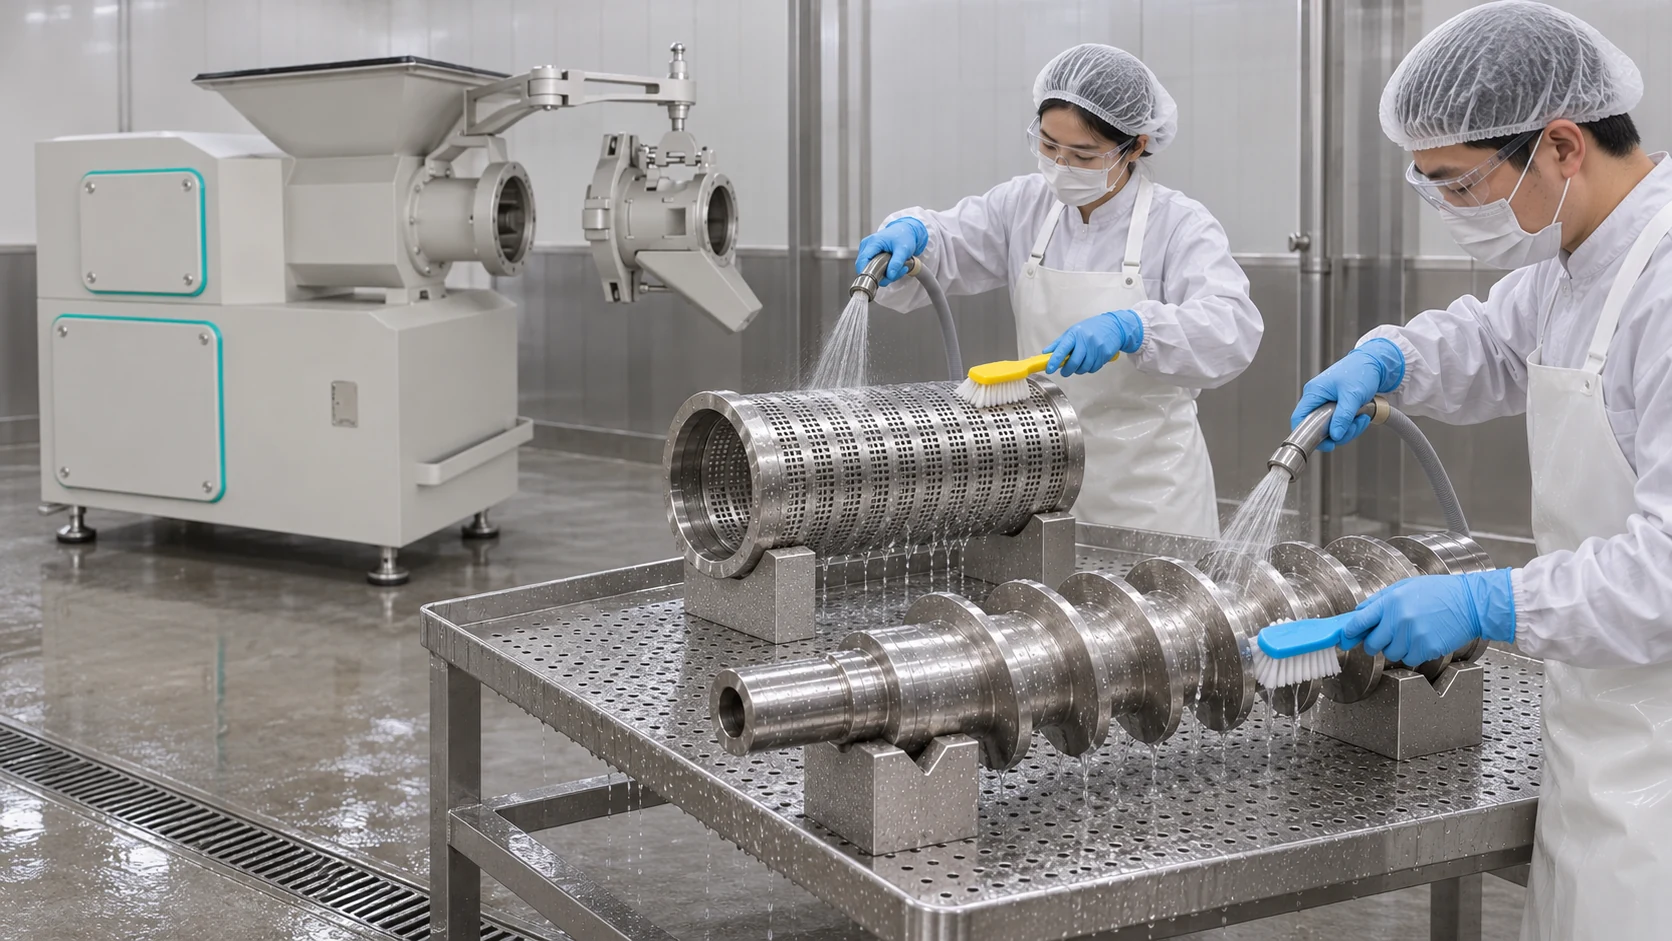
Clean Approved Removable Components Systematically
Follow the validated sequence for pre-rinse or soil removal, detergent application, mechanical action, rinse, inspection and sanitizing where required. Chemistry, concentration, temperature and contact time are site-specific. They must be compatible with machine materials, seals and finishes and must follow chemical labels and supplier instructions.
Inspect the Screw and Screen as Separate Surfaces
Check the screw flights, root, ends and drive interface for adhering material. Inspect every accessible screen or filter surface and its perforations without using tools that enlarge holes or scratch the surface. A screen that looks clean from the outside may still hold residue on the reverse side or at its seating surfaces.
Inspect the Head, Chutes and Seals
Pay attention to joints, threads, grooves, adjustment components, discharge chutes, gaskets and seal contact areas named in the manual. Product retained behind a damaged seal or in a crevice can return after reassembly. Record damaged, rough, corroded or difficult-to-clean surfaces for maintenance review rather than accepting them as a sanitation problem alone.
Control Water and Pressure
More pressure does not automatically improve cleaning. High-pressure spray can spread soil and water into bearings, electrical components or protected spaces. Use only the water pressure and spray method approved for the machine and room. Direct flow toward controlled drainage and away from cleaned parts.
Clean the Fixed Machine Without Creating New Risks
After approved parts are removed, the fixed hopper, housing, frame and accessible product path still require attention. Use the prescribed tools to reach corners and transitions while keeping water away from restricted areas. Work from cleaner zones toward dirtier collection areas according to the plant’s procedure.
Inspect Difficult-to-See Locations
Use suitable lighting and inspection mirrors where needed. Check behind guards that are approved for sanitation access, under ledges, around mounting points and at the interface between the machine and connected equipment. If an area cannot be inspected or drained, raise it with the supplier during equipment review.
Prevent Recontamination During Drying
Cleaned parts should drain and dry in a protected area. Do not place them on the machine frame, floor, packaging or an unclean maintenance bench. Hoses, brushes and tools also need controlled storage. Standing water and uncontrolled cloth use can undo an otherwise effective cleaning cycle.
Reassemble With Identity and Condition Checks
Reassembly is part of sanitation release, not a separate informal task. Confirm that every required component is present, clean, dry where required, undamaged and installed in the approved order. Matched components should not be mixed between machines or head assemblies unless the manufacturer permits interchange.
Check Seating, Fasteners and Guards
Verify screen seating, screw position, seals, adjustment parts, fasteners, covers, guards and interlocks against the manual. Use specified tools and torque instructions where provided. An incorrectly seated part can create a product trap, leak or unsafe operating condition even when the parts were cleaned correctly.
Account for Tools and Loose Items
Complete a tool and parts count before the machine is closed. Remove brushes, cloths, fasteners, inspection lights and temporary supports from the area. The operator should not rely on memory when several people worked on the machine.
Perform a Pre-Operational Inspection
A pre-operational inspection confirms that the separator and surrounding area are acceptable before raw material enters the room or hopper. The inspector should be independent from the person who performed the cleaning when the site’s procedure requires separation of duties.
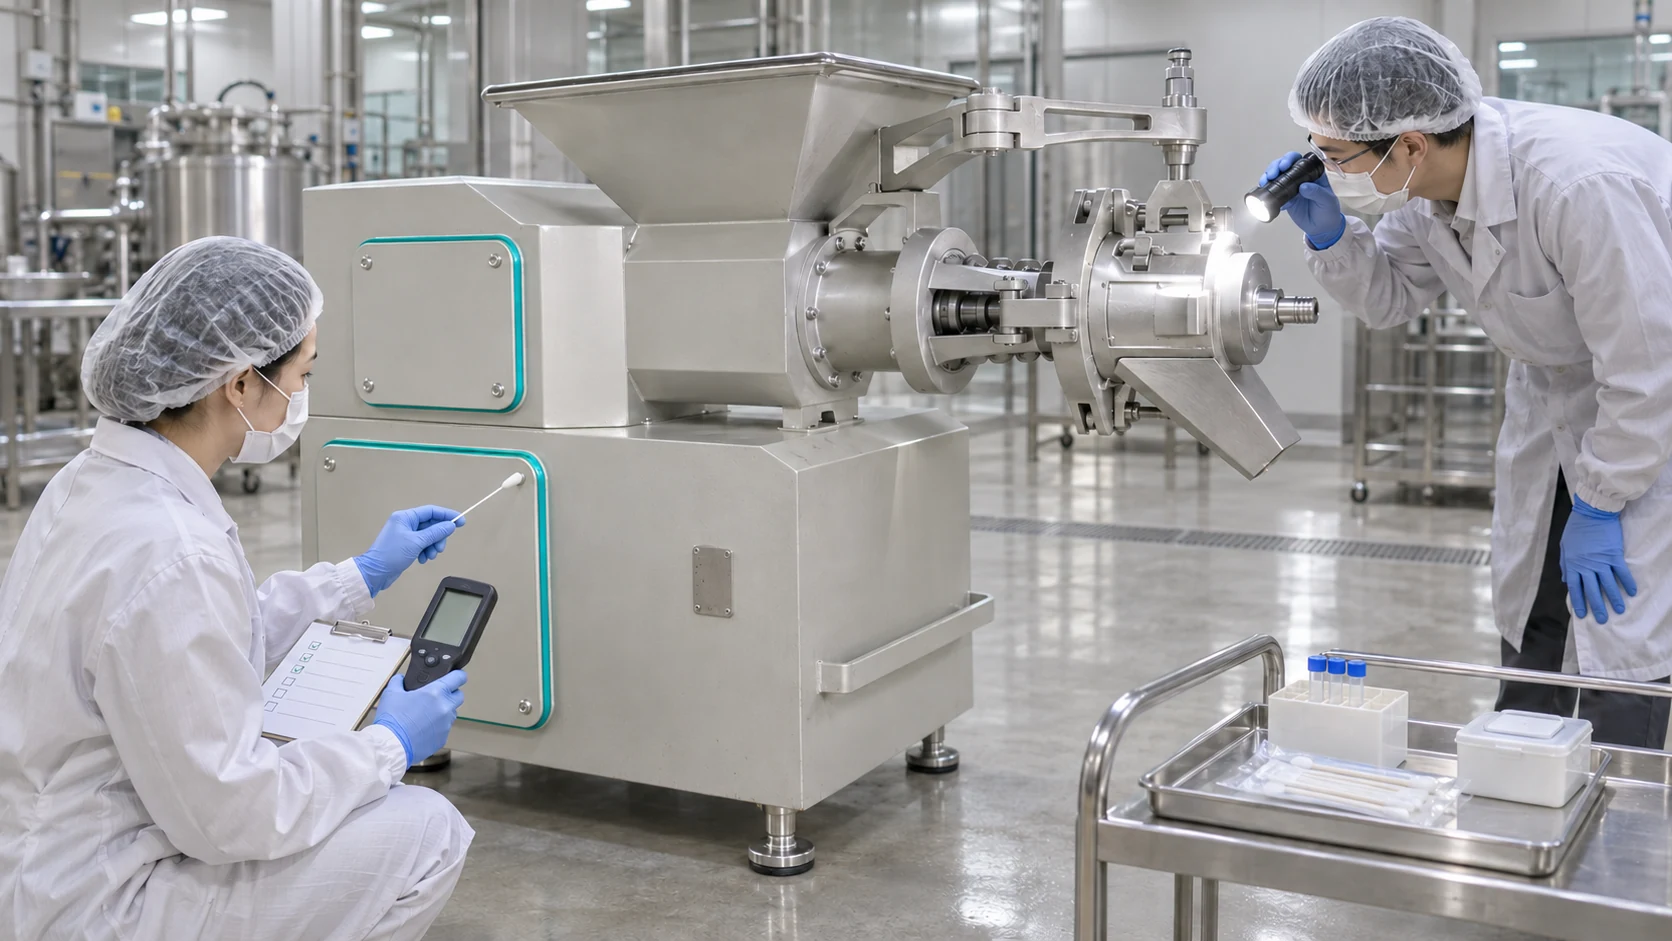
Use Risk-Based Sampling Points
Sampling should target the most meaningful product-contact and difficult-to-clean locations, not only the easiest flat surface. The site may rotate points to cover the hopper, feed section, screw, screen seat, discharge route and parts rack. Sampling after reassembly can be important where assembly creates the final food-contact condition.
Define Release and Corrective Action
The SSOP must state who may release the machine and what happens after a failure. Corrective action may include recleaning a defined area, repeating the complete cycle, replacing a damaged part, investigating chemical control or retraining staff. Production should not begin until the documented acceptance requirement is met.
Trend Results Instead of Filing Them Away
Review failures by location, shift, product family and cleaning team. Repeated findings at the same seal, screen seat or chute suggest a design, access, wear or procedural issue. Trend data can justify an engineering change, spare-part replacement, revised tool or updated training.
Control Changeovers Between Products or Species
Changeover cleaning should be based on the risk of carryover between materials and finished-product claims. A switch between poultry species, animal species, allergen profiles or products with different market requirements may require additional controls. The factory must define the sequence, test method and release criteria.
Keep Raw-Material Definitions Clear
Sanitation cannot correct an uncontrolled incoming-material mix. Use defined lots and prevent unapproved material from entering the hopper after release. The poultry-frame preparation guide explains how to classify and document separator feed before a controlled run.
Link Ingredient Use to the Market Rule
The legal name and permitted use of recovered material vary by species, process and destination. Cleaning records support hygiene and traceability, but they do not determine the ingredient’s legal classification. Review what MDM meat means in poultry processing for the process boundary, then confirm the applicable local requirement.
Evaluate Cleanability Before Buying a Separator
Buyers should request a live cleaning demonstration using the proposed machine configuration. Time alone is not enough. Observe the shutdown, safe access, component weight, parts rack, cleaning reach, drainage, reassembly and inspection points. Ask which surfaces are food contact, splash and non-food areas and which parts require tools.
Include Sanitation in the Factory Acceptance Plan
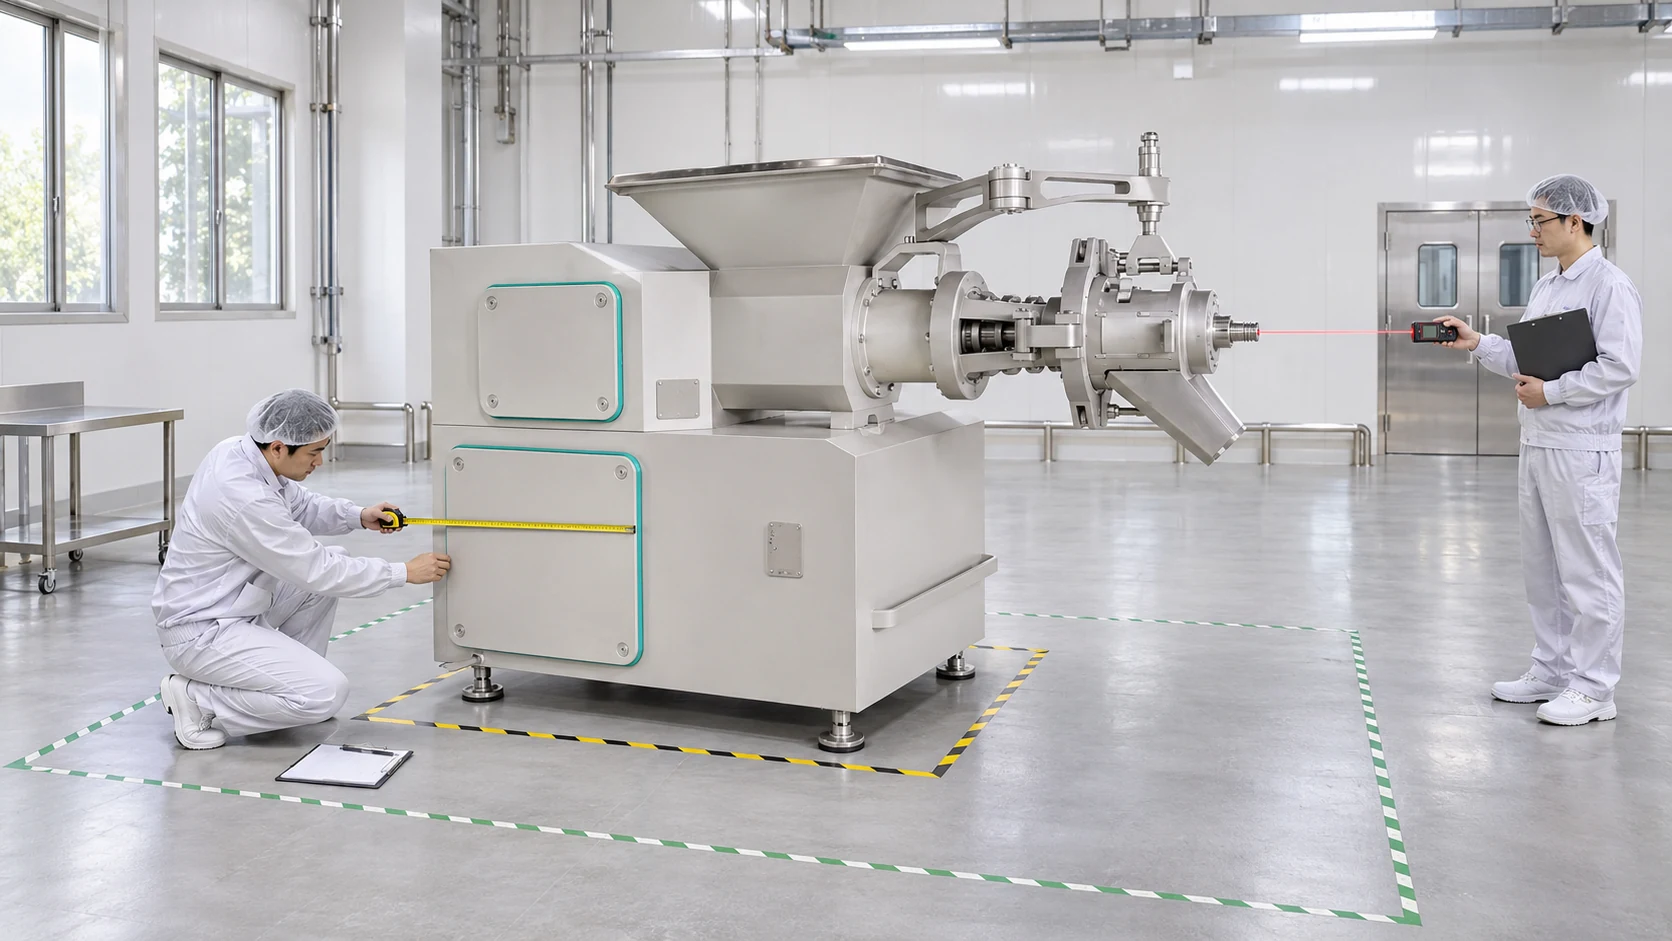
Define the cleaning demonstration, supplied tools, manuals, training, spare seals and acceptance records in the purchase scope. Confirm the space needed for disassembly and where parts will be washed and protected. The meat separators installation guide covers the related floor, drain, electrical and service-clearance decisions.
Ask for Evidence, Not Only “Easy to Clean”
A useful supplier response identifies the approved disassembly sequence, accessible surfaces, protected areas, component-handling method and training scope. It should also disclose which cleaning details depend on the buyer’s chemical program and food-safety plan. A general hygiene claim cannot replace that information.
A Practical Sanitation Release Rule
Release meat separators only when the approved cleaning sequence is complete, the machine is correctly reassembled, visual inspection passes, required verification results meet the site’s limits and every corrective action is closed. If a surface cannot be accessed, inspected or repeatedly passes only after extra undocumented work, treat it as a process or design problem that needs formal correction.
For a project-specific machine and sanitation review, send the raw material, production schedule, cleaning method and factory layout through the equipment inquiry page. The proposal should connect separator selection with the hygiene program the plant can actually operate.
Frequently Asked Questions
How often should meat separators be cleaned?
Clean them at the frequency defined by the factory’s validated sanitation program, product schedule and risk assessment. Cleaning is normally required after production and may also be required between products, species, lots or extended runs.
Which parts of a meat separator should be removed for cleaning?
Remove only the components identified in the approved machine manual and plant SSOP. The screw, screen and separation-head parts often require access, but the exact boundary and sequence depend on the model and configuration.
Can a high-pressure washer be used on a meat separator?
Only when the manufacturer and plant procedure permit it for the specific area. Excessive pressure can spread soil or drive water into bearings, electrical equipment and protected spaces.
What is the difference between cleaning validation and verification?
Validation demonstrates that the selected procedure can consistently meet the defined hygiene objective. Verification provides routine evidence that the approved procedure worked for a completed cleaning cycle.
Where should hygiene samples be taken on meat separators?
Use risk-based points that represent product-contact and difficult-to-clean areas, such as the hopper, feed section, screw, screen seat and discharge route. The plant must define the method, rotation, limits and corrective actions.
How should a buyer evaluate separator cleanability before purchase?
Request a live cleaning demonstration for the proposed configuration. Observe isolation, disassembly, component handling, surface access, drainage, reassembly, inspection points, required tools, cleaning time and supplier training scope.